

The Content Library allows you to create, edit, and store free, course, or membership content such as Articles, Videos, Text Lessons, or files.
See example of what your free or paid users will see of the Content Library below.
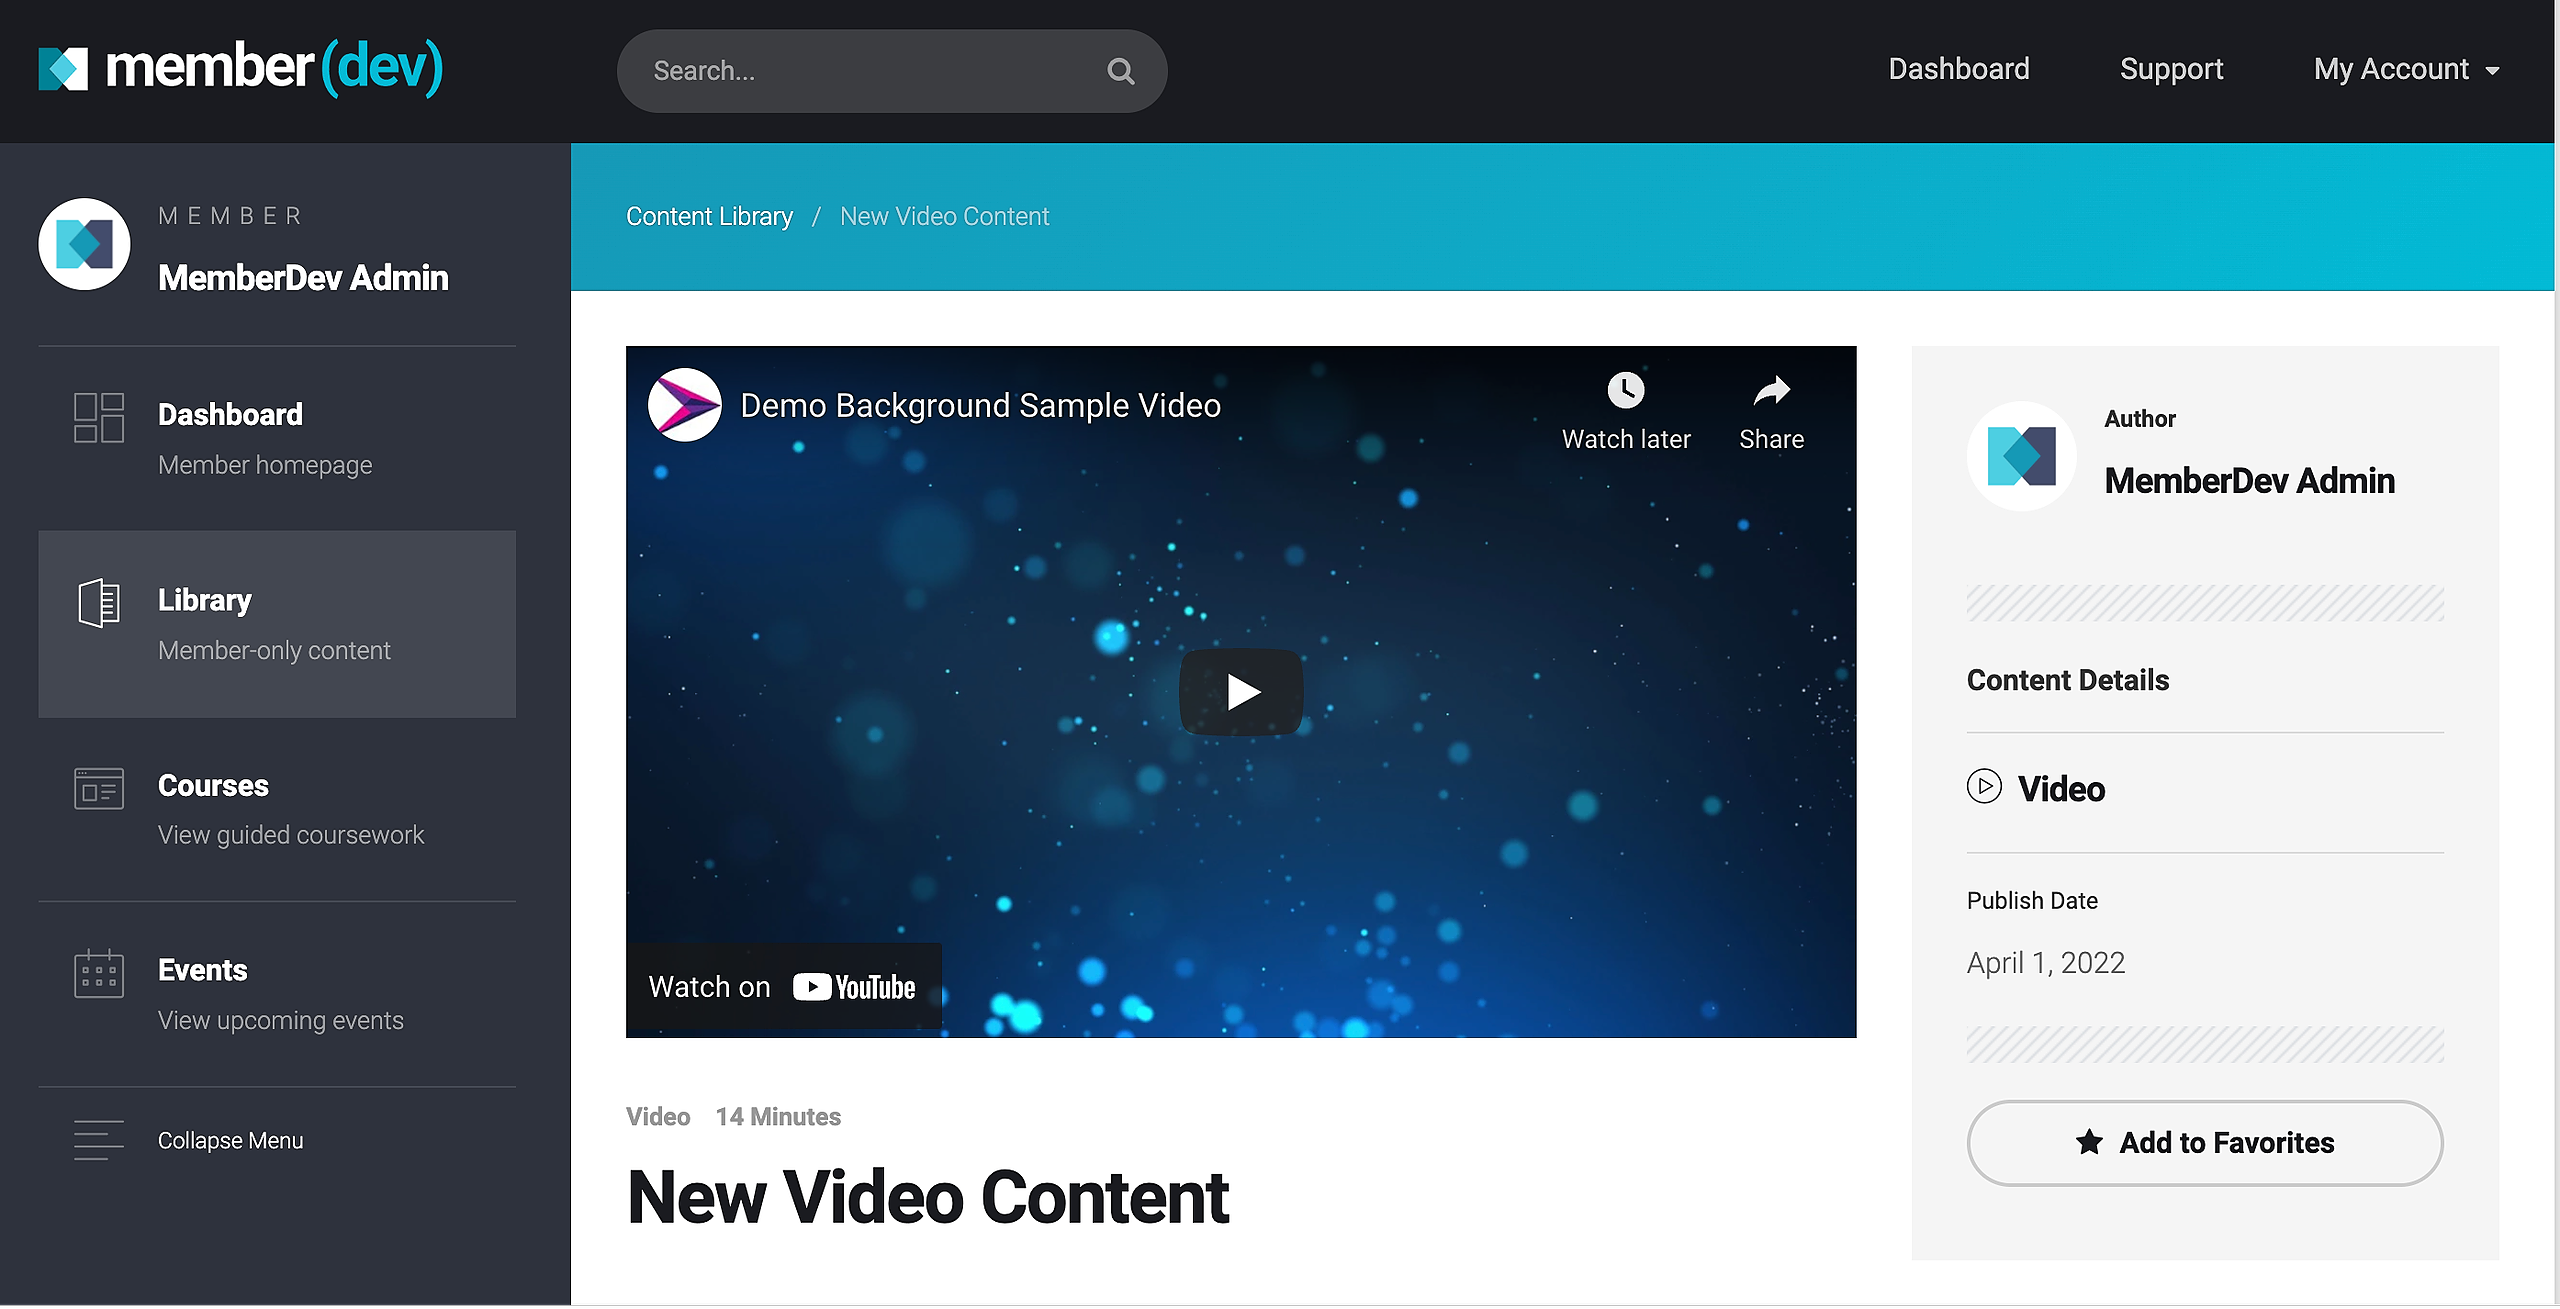
Content Library Options
You can easily store different types of content including video and audio files perfect for easy learning for your students.
Creating and Formatting Content
Enter the content article title under "Add Title". You can easily add and format text, video, and images for articles inside the text editing field.
- Add images by uploading them under the "Add Media" button
- Simple text formatting includes bold, italic, bullets, numbering, text alignment and more.
Once you're satisfied with customizing your text content, you can add additional content types by following the instructions below.

Adding Videos & Audio Files to your Content Library
- To add a video to your content library, toggle the "Yes" option under the Content Video Code, then add a url from your respective video hosting platform such as Vimeo, Youtube, Loom, etc.
- To add an audio file for your content library, toggle the "Yes" option under the Content Audio Code, then add the embed code from a 3rd party source such as Soundcloud, Spotify, etc.

Note:
If you are hosting a video for your content from Vimeo, Youtube, Wistia or another third party video host, make sure that the settings are private if the content should only be visible to paid members.
Previewing Your Content
Always make sure to save your content draft. Saving your draft prevents losing work or publishing unfinished content. To save your draft, click "Save Draft" on panel to the right of the text editing field.

Next, click the "Preview" button to review your content changes. This will open a new tab in your internet browser. Do not close your other browser. Review your previewed changes. Continue to click "save draft" when making formatting changes and preview the formatting in the secondary browser until you are satisfied with the look and feel.

Editing Content Urls
One of the easiest ways to view or share published content to your members is to copy the permalink. Permalinks or are unique urls which can be used to view content within your content library. Edit permalinks within the "Title" field.
Permalink structures typically appears in the following format:

Content Access
Content access is associated to Content Categories. Content access allows to you to associate your content to a specific topic or category. To learn more about how to create and edit content categories, read this article .
.png)
To ensure that the content is accessible in the correct category, toggle the correct category.
Content Resources 
Content resources can be used to host PDF's, articles, or other applicable instructional resources. Resources can be hosted in two ways using "File Types". Below, you'll find more details on these options.
Download
The download option allows you directly host your file. To add your resource, you'll need to upload your file into the media library. Select the "add file" option, then select "Upload", and then either drag and drop your file to the center of the pop-up window OR click the "Select Files" option.
Note that the maximum upload file size is 128 MB.


URL
The url option allows you to link directly to resources. For example, a file hosted on Google Docs, Dropbox, Youtube, or other third party file hosting software.
For instance, if you hosted a Google Document file, you could copy and paste the url to share that file directly into the text field as shown below.

Featured Image
A featured image for your content will appear in your user's dashboard's Library "grid" when associated with a content category. Meaning you can use a featured image to visually distinguish your content inside your content library.
Publishing your Content
To publish your content, press the "Publish" button and you're done! You can continue to preview and edit your content as needed.